This may look like an extended review of a new training and instructional DVD, but this one is, in my opinion, so good that I thought it merited a thorough review, so read on and enjoy.
Firstly, as you see here, this instructional & tutorial DVD covers the interesting, and perhaps unusual to you, specialised category of the 3 veneer class. This means that you are limited to using no more than three different veneers for the work.
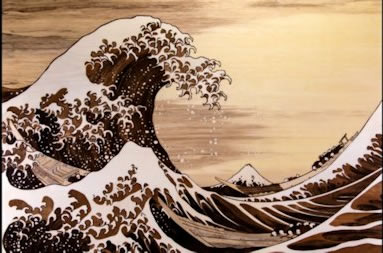
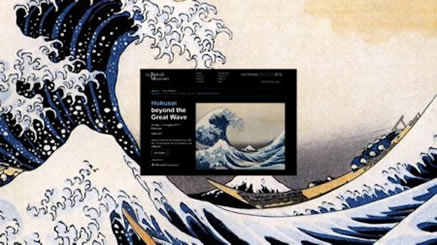
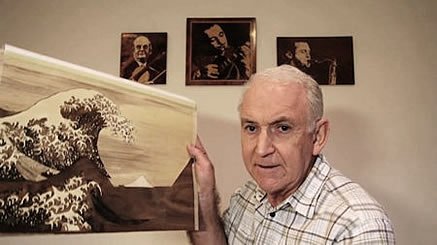
The subject chosen for this tutorial is the justly famous painting by Japanese artist Katsushika Hokusai of “The Great Wave”.
As the original painting involves a lot of pen work in traditional Japanese style, this has to be replicated in wood veneers in order to stay truthful to the actual art work.
(Note: For details of how to purchase this tutorial DVD, or indeed any of our tutorial DVDs, just click this following link:
"Tutorial DVDs Purchase Information" ) |
 Introduction and main menu page
|
|
|
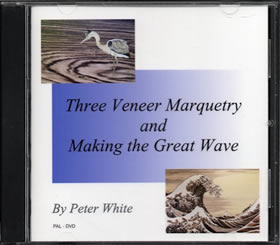 The DVD Jewel Case
|
|
The intro chapter of the DVD shows you some amazing three veneer marquetry pictures from years gone past.
You would not believe the inventiveness to be found from marquetarians over the last ten or more years.
The examples of three veneer marquetry from years gone past will astound you, and, every one of them is indeed a genuine three veneer picture.
They may look like there is more than three veneers there, but there isn’t!
Each of the pictures in this review is an actual true screen capture from the DVD itself, there is no tweaking and adjusting, these are true screen captures. The technical quality of these DVDs is. of course, beyond reproach, it is indeed first class. |
|
This three veneer class was the brain child of one Alf Murtell of the old London Group.
Alf wanted to introduce a challenge which would make the marquetarians of the day carefully consider the qualities of the three veneers they chose for their marquetry picture in that they had to think carefully about the figuring, colouring and grain patterns when selecting those three veneers.
It is often very challenging if you only have small pieces of veneer in your veneer collection. Full leaves are best here, but how many of us have full leaves at our disposal? Not too many I imagine.
But it all took off a lot better than Alf ever thought it would, and is now a very popular category at our International Marquetry Exhibitions.
But I’ll not go into too much chatter here about such things, as Peter does cover the history fully in the intro chapter of the DVD in a more comprehensive fashion. |
 Alf Murtell
|
|
|
 The tutorial starts
|
|
|
I have to admit that when I normally conduct a review I usually take a break half way through for a mug of tea and a slice of cake, but this DVD was so enjoyable that I watched it all through from beginning to end in one complete session.
Then I had my tea and cake and watched it all over again - it was that good.
Peter spent quite some time refining and editing this DVD and it really shows, it is up to the highest of standards and very entertaining.
|
|
Of course it is in wide screen format and has more than an hour of content divided into two chapters. Chapter one is the one we have looked at in this review so far, chapter two concentrates on the building of Peter’s award winning (it achieved first place in the three veneer category) “The Great Wave”.
But let’s get back to chapter one for a minute. It demonstrates how you can get perfect marquetry portraits from a limited palette of just 3 veneers. |
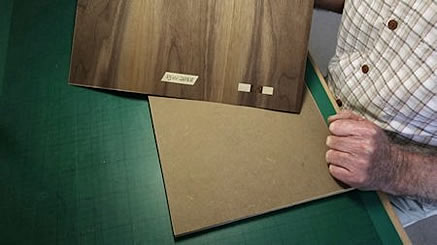
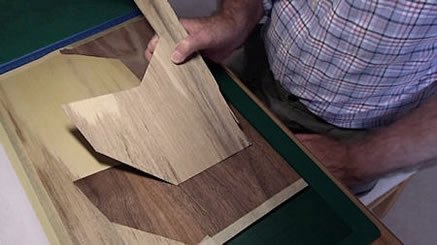 Peter selects the background and waster veneers
|
|
|
 Selecting the walnut for the ocean waves
|
|
All the tones needed are there in those three veneers if you look. Peter guides you in selecting the best veneers for the task.
But, let’s now move on to chapter two which is where Peter guides us through the build of his incredible interpretation of Japanese artist Katsushika Hokusai’s “The Great Wave”.
Now you would think that such a detailed picture with so many thin outlines would be almost impossible to transfer to the medium of marquetry.
|
|
For many of us that statement would indeed be true, but Peter, being always up for a challenge (in marquetry terms) was not put off in the least; and not only that, Peter also decided to record every step and make this training and instructional DVD from that process.
The next series of screen captures shows the build process from beginning to end, although, obviously, you only see a small handful of ‘sample snaps’ in this review, these are all taken from various sections of the tutorial.
|
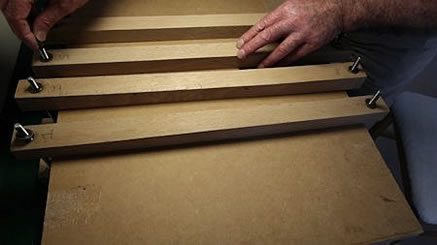
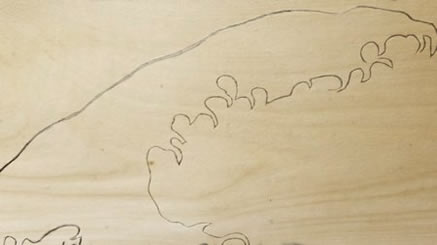 The pricking out as mentioned in the text below
|
|
|
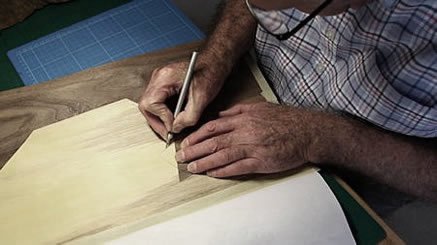 Peter now cuts out the pricked pattern
|
|
Peter starts with demonstrating how the A3 drawing was made, and then the background (waster) veneers were chosen after that Peter shows his choice of the main veneer for the body of the picture.
Don’t forget that in all this, you are limited to just three veneers for the entire project. It may seem a daunting prospect, but with Peter’s guidance you can see it is all done with comparitive ease. But at the moment we are just at the veneer choice stage. Now we move onto the actual cutting and assembly stages. |
|
With one of the screen captures above you can see that Peter is selecting the best piece of walnut for the body of the wave.
The next picture below that shows the pricking out for the foam and lighter surface of the wave until it is ready for cutting and removing from the main leaf. There are some inportant points to remember here in order to get a clean cut, but you will have to watch the DVD to find that information out!
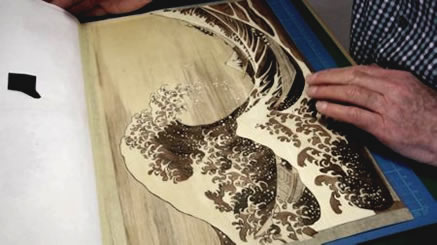
The build of the picture is now moving on apace and is starting to really resemble Katsushika Hokusai’s original painting.
|
 A good two thirds of the way through
the build of this marquetry masterpiece - looking good already!
|
|
|
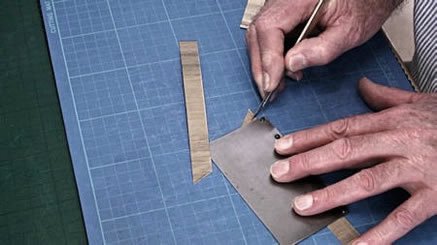
 Getting ready to add the fishermen in the boats
|
|
Peter is really nailing the marquetry version of this famous picture. The sky veneer is truly amazing, a perfect choice.
And now we approach the finishing stages. As you see, the finished cutting looks perfect already, but we are not finished yet, Peter is going to show us the final stages.
Before Peter can attach and fix the picture layon itself to the baseboard, he needs to follow the old BEST principle (namely back, edges, sides and top) and affix the pieces in the correct order.
|
|